Presentation maker
A deck needs a spoken explanation that still makes sense when shared without its presenter.
Write one short passage per slide, generate the voice, and leave pauses where the visuals need attention.
text to voice onlineNarration workflow
Turn a written script into speech, then add the audio to your Canva design. Texttovoice helps you prepare narration for presentations, short videos, and visual explainers without recording every line yourself.
A good-looking design can still feel unfinished when the spoken words arrive too late, run past a slide, or sound unlike the rest of the project.
Start with the viewer and the format, not a long block of text. These common Canva projects each call for a different narration plan.
A deck needs a spoken explanation that still makes sense when shared without its presenter.
Write one short passage per slide, generate the voice, and leave pauses where the visuals need attention.
text to voice onlineA vertical video needs a clear opening before viewers scroll past.
Put the main point in the first sentence, then trim the audio and on-screen text to the same beat.
text to voice examples freeAn illustrated lesson needs consistent wording across several scenes.
Generate each teaching point as a separate clip so it can be aligned with its matching diagram.
text to voice freeA product explainer changes often, making a new microphone recording inconvenient.
Keep the source script editable and replace only the narration segment affected by a revision.
text to voice alternative freeChoose the workflow that matches your project. In each one, listen to the generated speech before you place it against the visuals.
Draft one or two spoken sentences for each slide. Generate the audio in small sections, import the clips into Canva, and position each clip with its slide. Preview the full deck to catch transitions that begin before the speaker finishes.
Write a hook, a single supporting point, and a closing line. Create the narration, add it to the Canva video timeline, and adjust scene lengths to the speech. Let the audio set the pace rather than speeding it up to fit fixed scenes.
Split the script into introduction, explanation, and ending. Generate separate clips so a changed fact does not require replacing the whole soundtrack. Save the written script alongside the design to make later corrections easier.
Generated speech supplies narration; it does not make editorial or timeline decisions for your Canva project.
Generating audio does not place words on the correct Canva pages or set scene durations.
Workaround
Import the clips, align them manually, and play the project from beginning to end.
Names, acronyms, URLs, and unfamiliar terms can sound wrong even when they are spelled correctly.
Workaround
Try a phonetic spelling in a copy of the script, then listen before using the revised clip.
A voiceover can add context, but it cannot make tiny text or a fast sequence easy to follow.
Workaround
Reduce on-screen copy and allow enough time for viewers to look at each visual.
Do not assume that a generated clip, its format, or a particular Canva import path is available in every tool or workflow.
Workaround
Confirm the audio file and import steps before committing to a large multi-scene project.
A short voiceover works best when it explains the visual instead of reading every word already on screen.
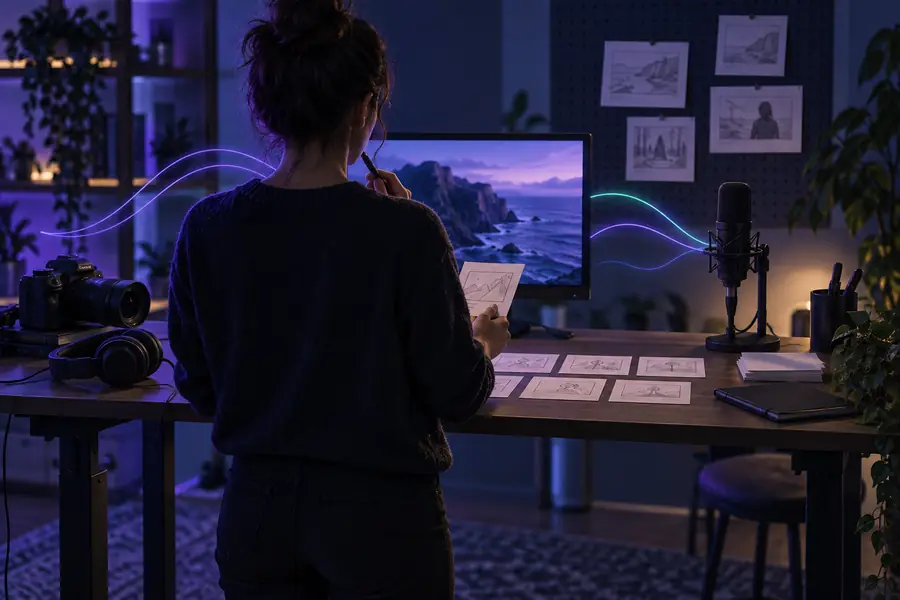 Visual without narration
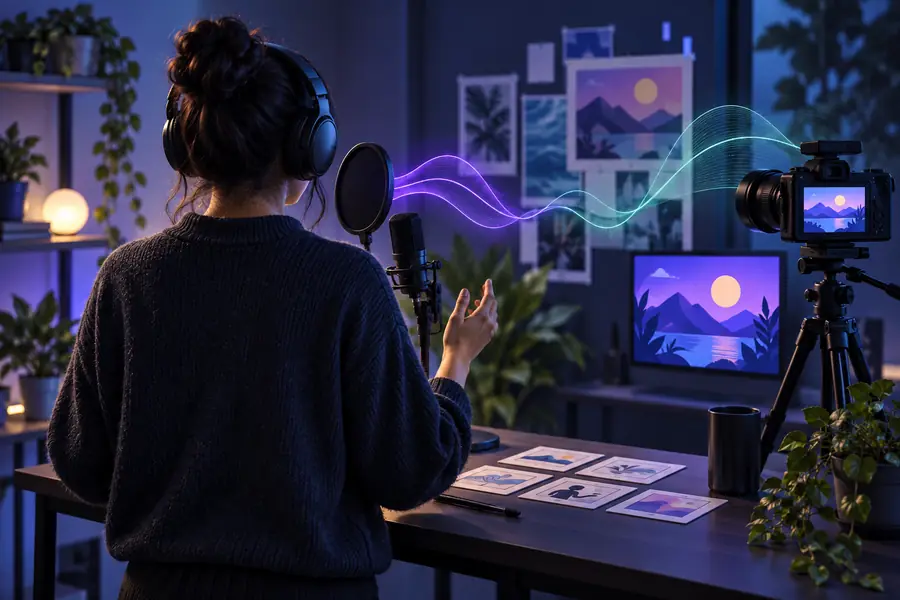 Visual with a voiceover plan
Before sharing a narrated Canva design, check both the audio source and the finished presentation. A usable file is not the same thing as a cleared, accurate final video.
Script
Before importing audio
Check names, claims, dates, and pronunciation in the written copy.
Before publishing the Canva design
Check that the narration still matches the latest on-screen information.
Voice rights
Before importing audio
Use a voice and generation service whose terms permit your intended use.
Before publishing the Canva design
Keep any required permissions or attribution with the project records.
Music and effects
Before importing audio
Plan whether the voice needs background audio at all.
Before publishing the Canva design
Confirm rights for every added track and keep speech easy to hear.
Timing
Before importing audio
Leave natural pauses between ideas when drafting the script.
Before publishing the Canva design
Preview slide changes, cuts, and the final seconds of each clip.
Accessibility
Before importing audio
Keep a clean copy of the exact words being spoken.
Before publishing the Canva design
Add readable captions or a transcript where the publishing format allows.
Export
Before importing audio
Confirm the generated audio can be saved in a format your workflow accepts.
Before publishing the Canva design
Watch the exported design with sound on to catch missing or displaced clips.
Write a short script, generate and review the speech, then import the resulting audio into Canva. Text to voice is the narration step; your final timing, captions, rights checks, and export still deserve a human review.
Generate voiceoverWrite the words you want spoken, generate and review the audio, then import the saved clip into your Canva presentation. Place it with the relevant slide and preview the deck so the speech ends before the next point begins.
You can add a supported audio file to a Canva video and arrange it on the timeline. Check the current import options in your Canva editor, then play back the complete video rather than relying on the position of the clip alone.
Separate clips are easier to move or replace when individual slides change. A single clip can work for a continuous video, but revisions and slide-by-slide timing usually take more care.
No. Spoken audio helps people who can listen, while captions or a transcript make the message available when sound is off or inaccessible. Check that captions match the final spoken version.
The scene duration and audio duration may not match. Shorten the scene, add an intentional pause, or revise the script; preview the transition before exporting.